Pong
Version 2: Pong Refined
After completing the basic functionality and gameplay of Pong, I decided to take a more ambitious step. At this stage, the game only supports matches between a player and the computer. With the skills I currently have, I would like to make the following improvements to the current one:
1. Enhance the visual presentation.
2. Add a main menu and a help page.
3. Add background music and sound effects.
4. Introduce a player-versus-player mode.
5. Implement a clear win condition system.
Enhance the Visual Presentation
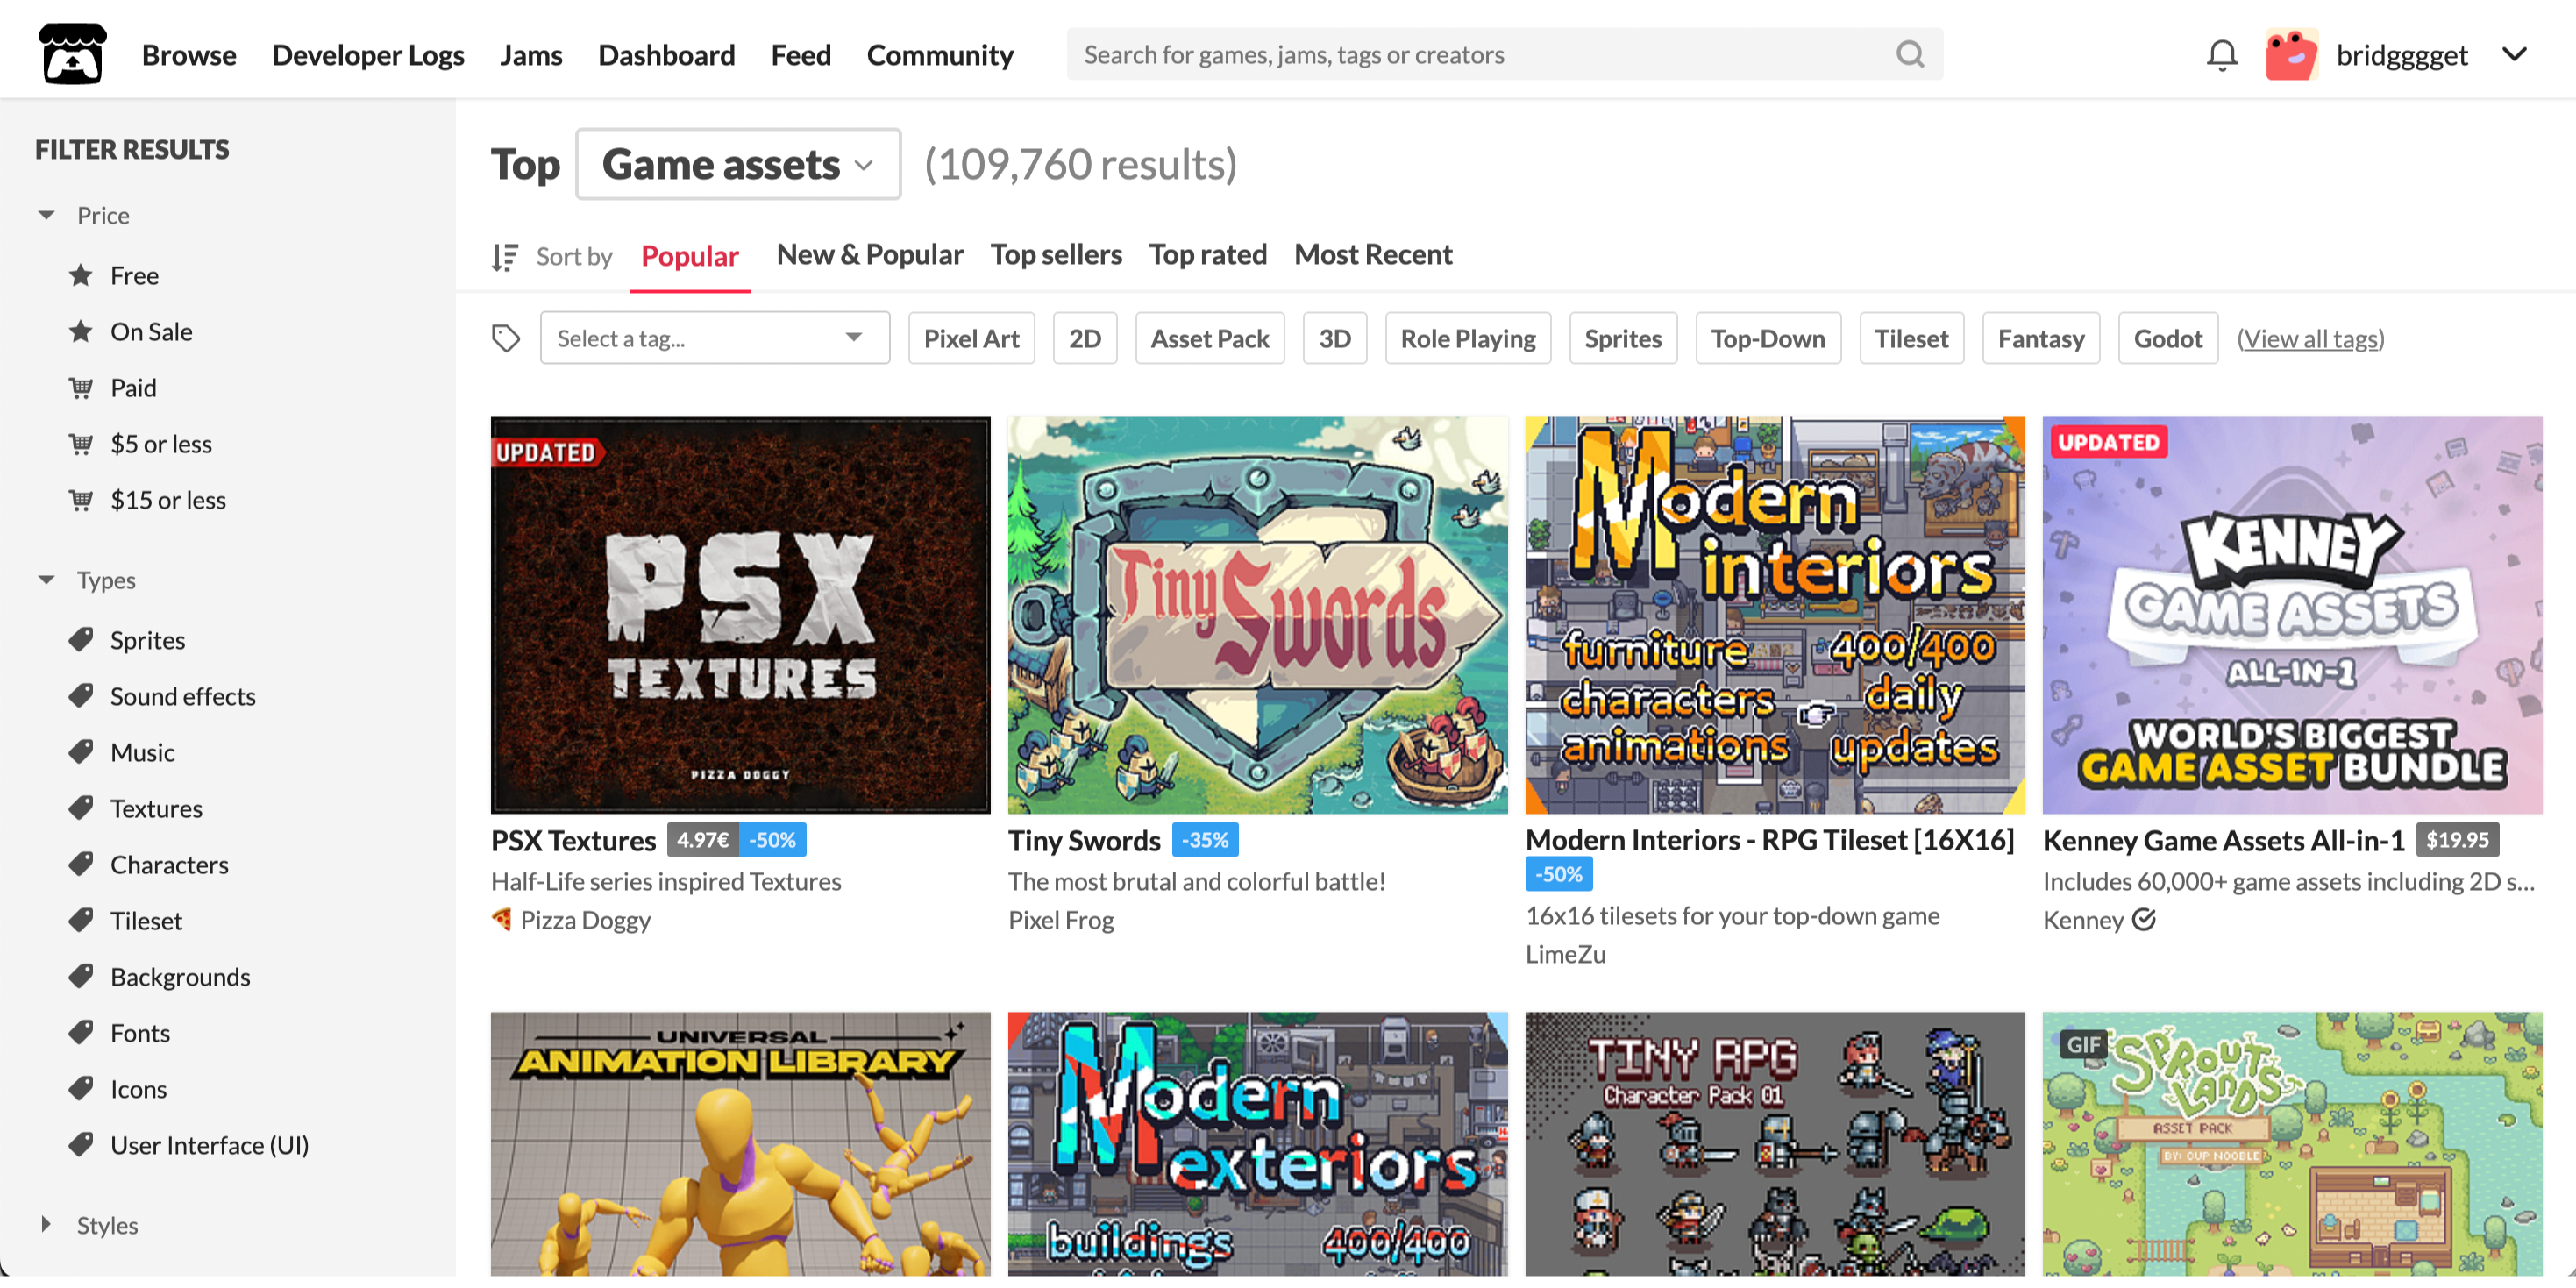
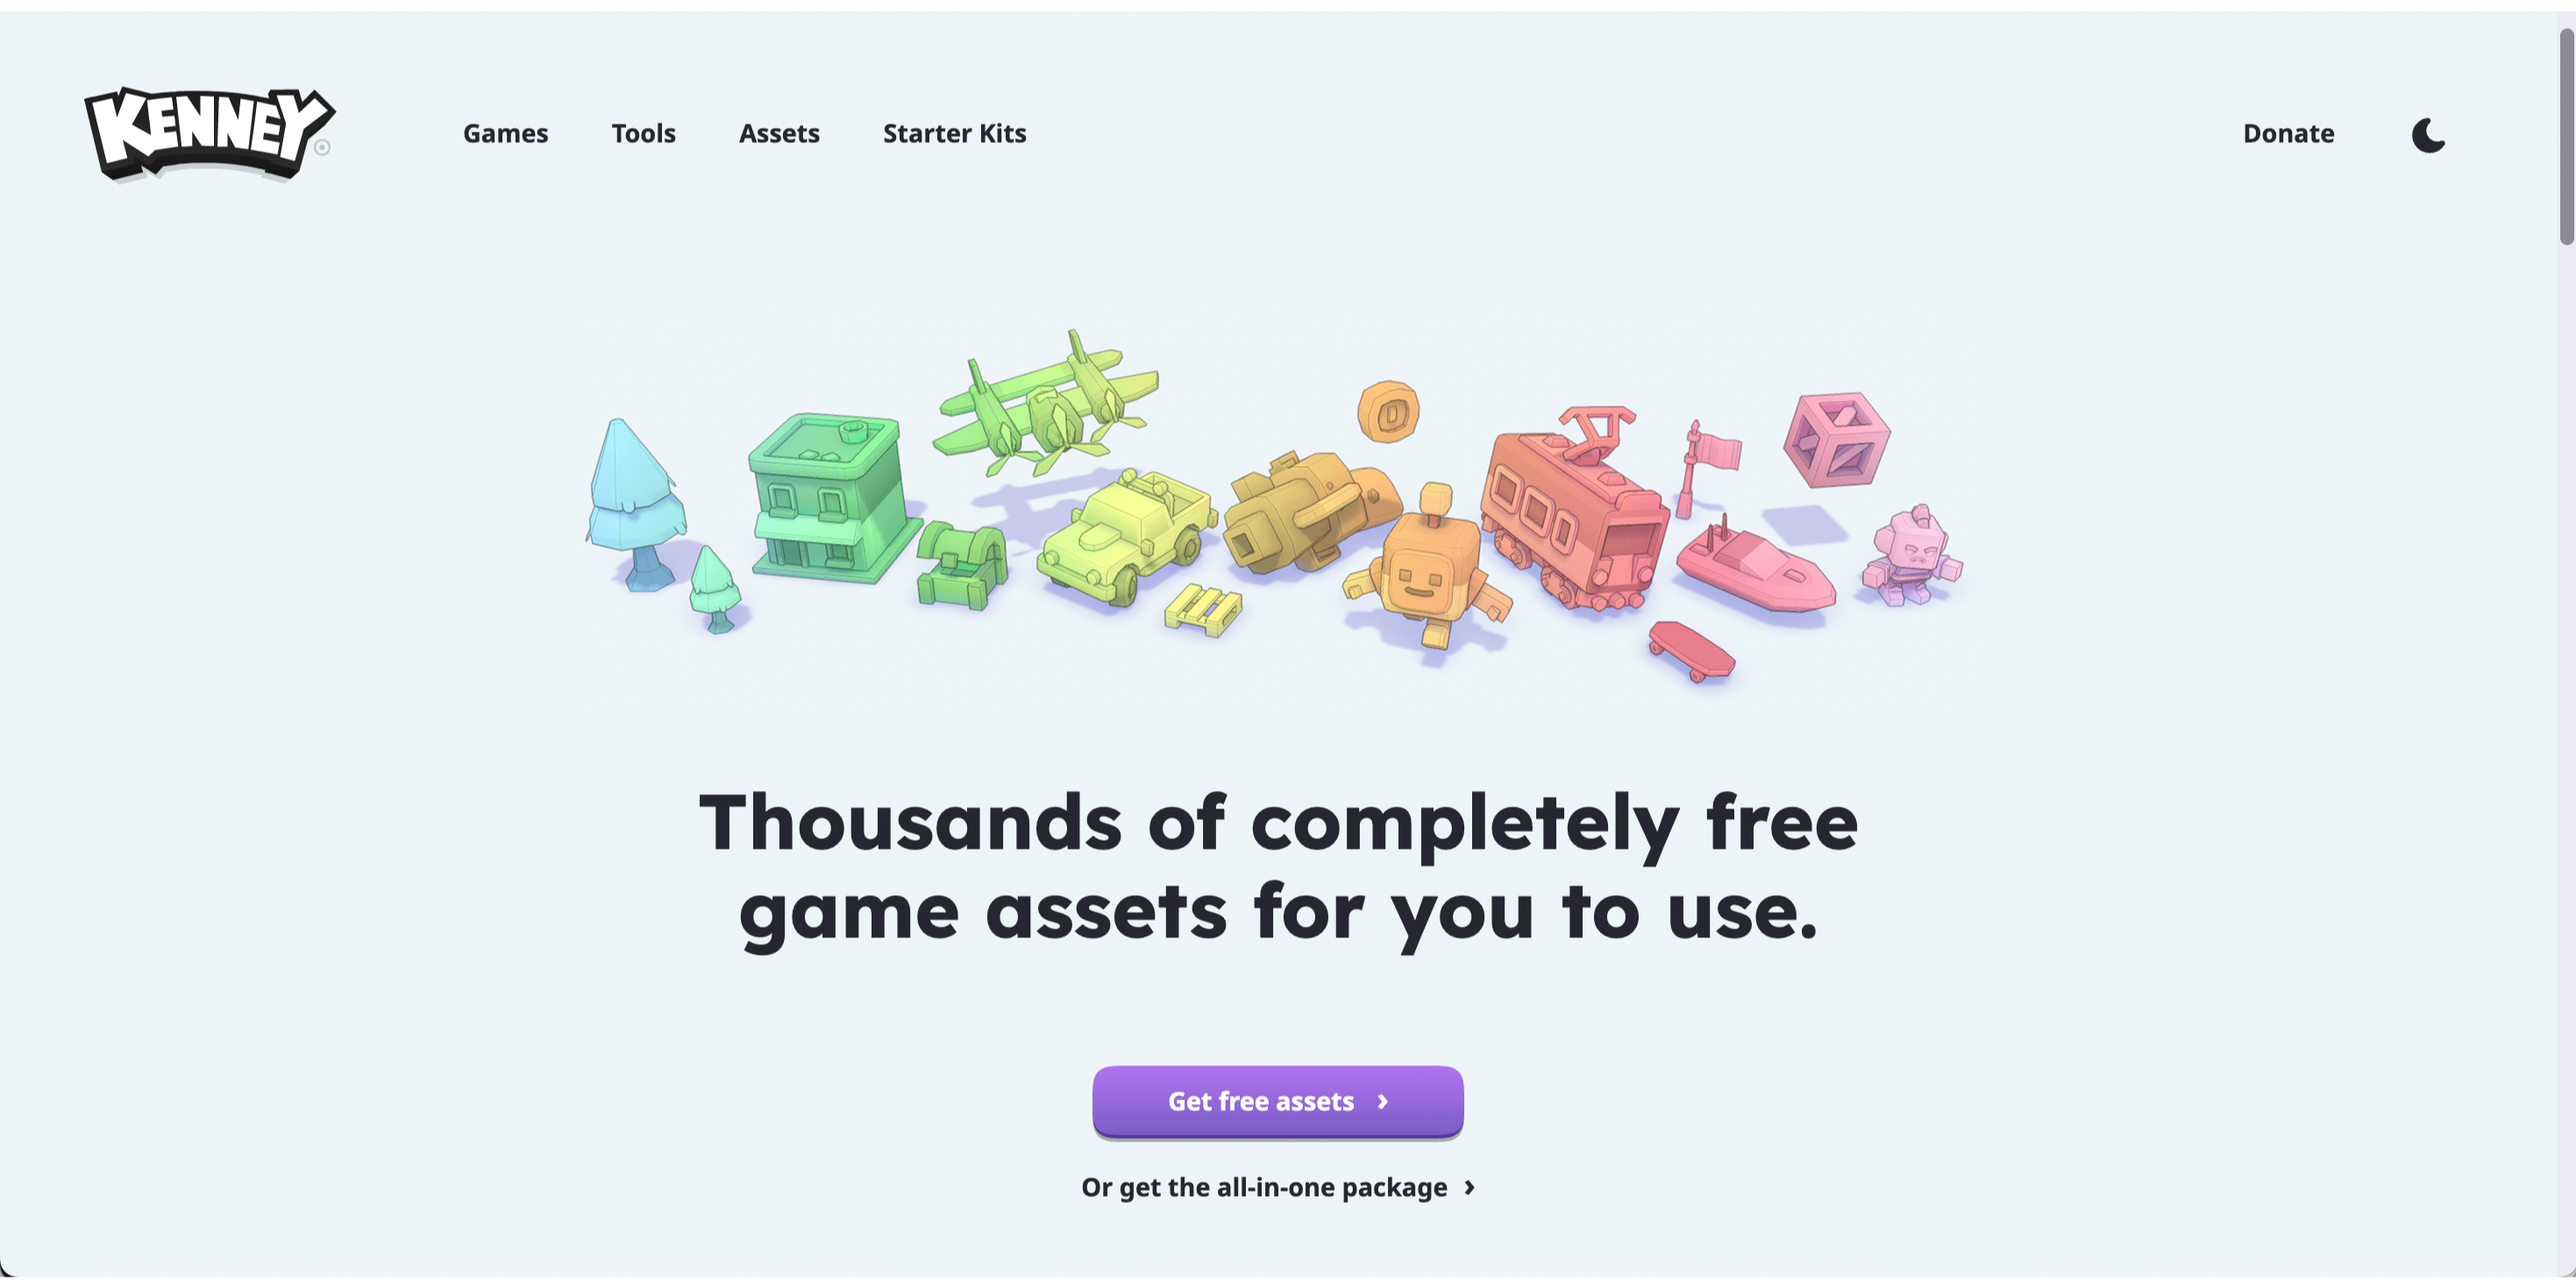
Since I do not have drawing skills, I directly used asset resources from itch.io and the Kenney asset library. These platforms contain a large number of visual and audio assets uploaded by other creators, including both free and paid resources. By searching and filtering through keywords, I quickly found the assets I needed and downloaded them for use.


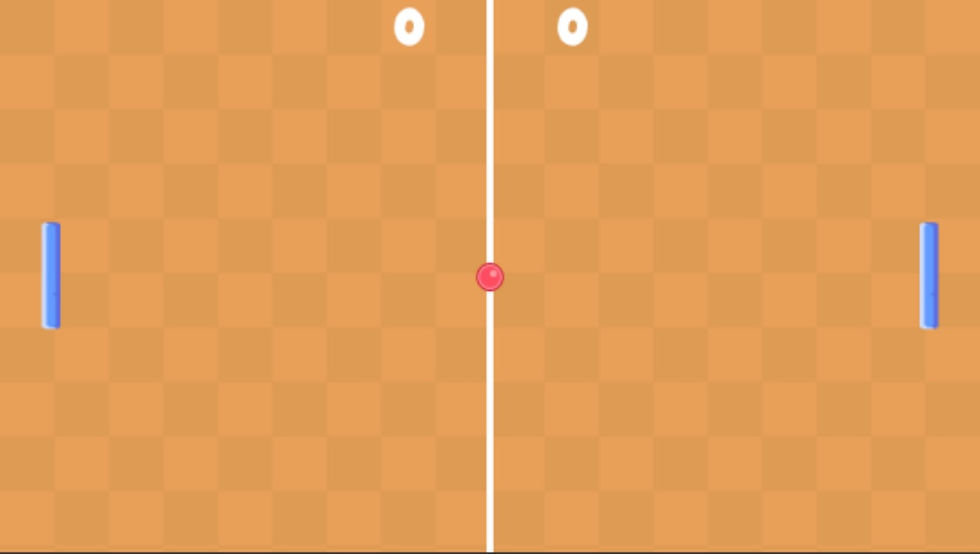
Overall, the visual improvement process was relatively effortless. The tutorial had already explained how to import images and fonts into Godot, and since this part did not involve any complex code changes, I was able to easily transfer and apply what I learned. I simply dragged and dropped different assets into the project and quickly upgraded the game’s visual presentation, transforming it from its original form into a more polished version.


Create Menus Using Godot’s Nodes
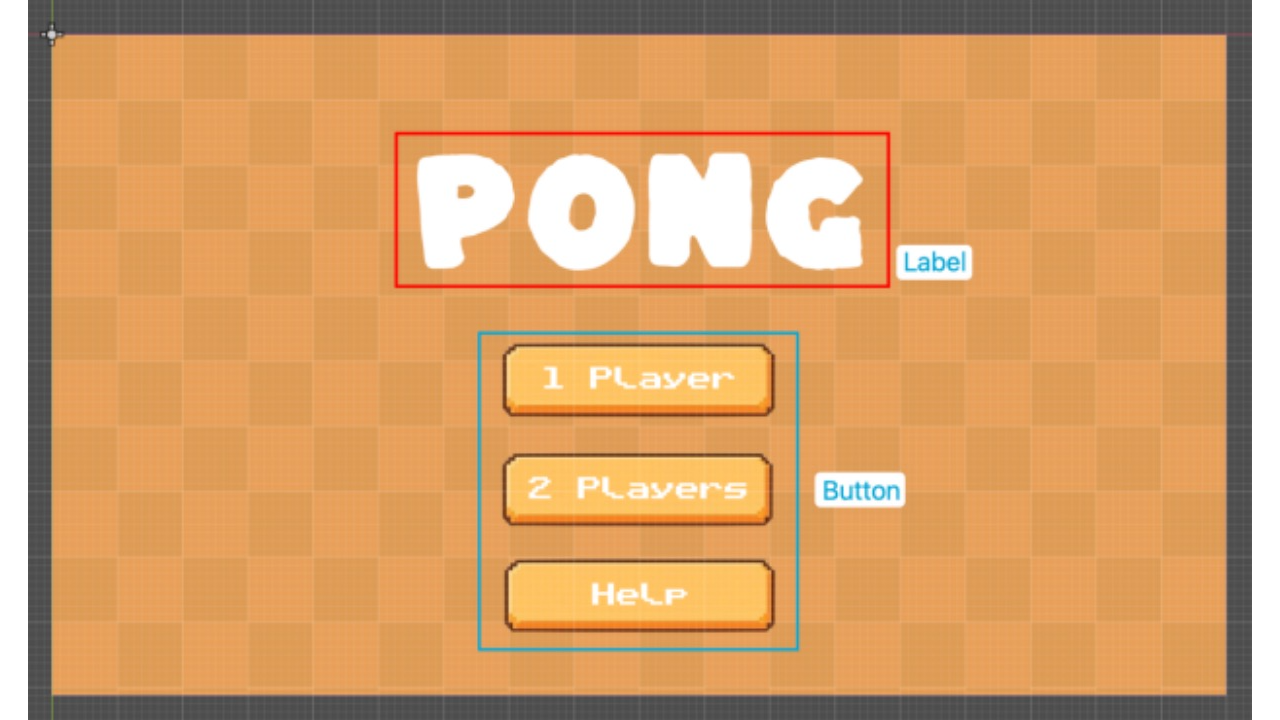
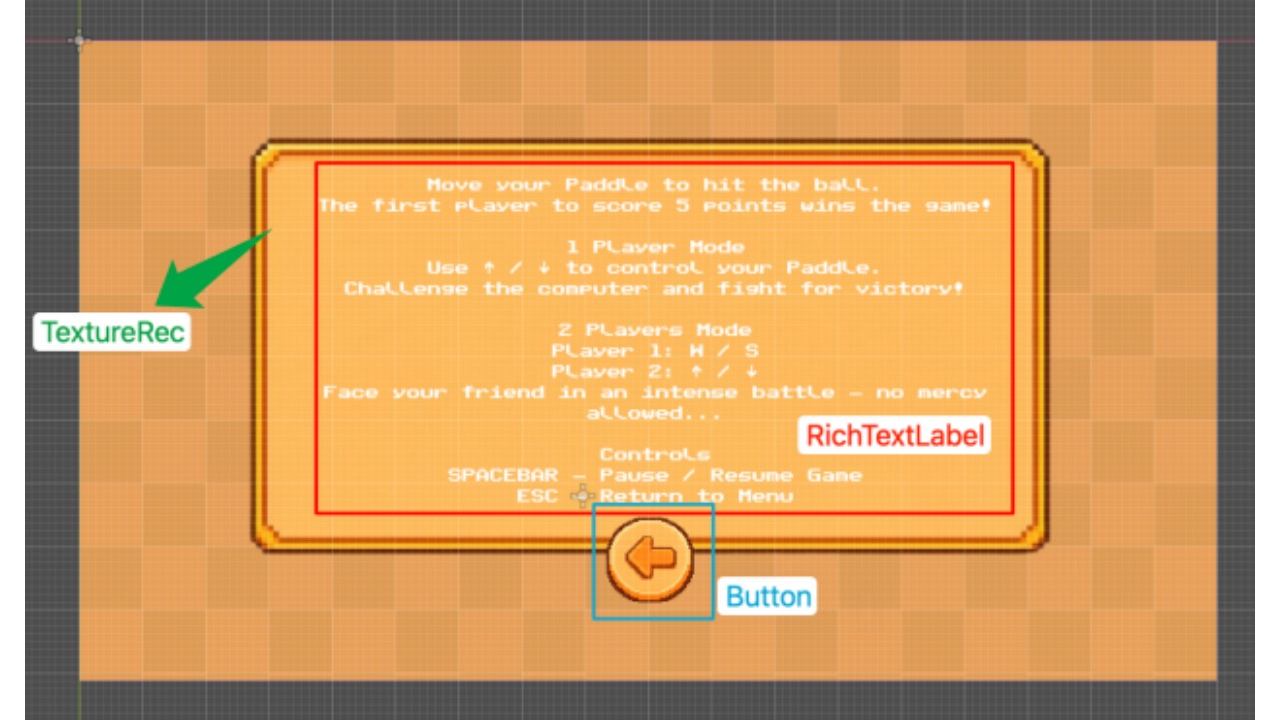
The main menu allows players to choose different game modes, and the help page enables players to check the game rules. This stage involved a significant amount of work related to using and combining different nodes in Godot, which are the basic building blocks of a game scene.
With the support of rich asset libraries, designing the menus’ UI itself was not particularly difficult. The real challenge lay in understanding how to use Godot’s nodes properly to implement the intended functionality. During the initial tutorial-based phase, I simply followed instructions step by step, so I didn’t truly understand how to use each node. However, after completely stepping away from the tutorial and starting to explore on my own, I gradually realized that the available resources have already provided substantial support for learning through practice.
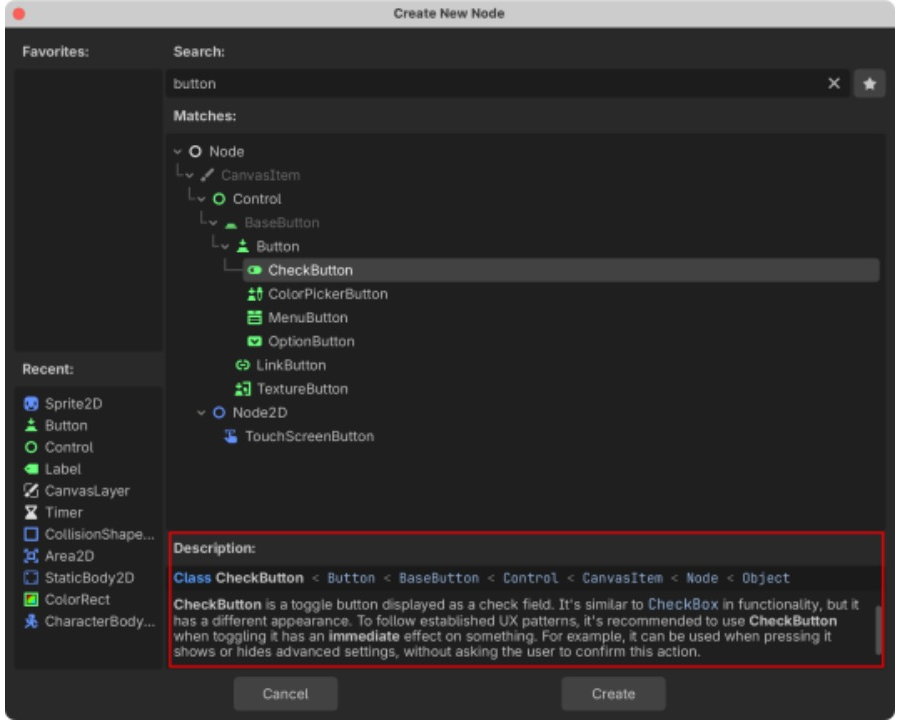
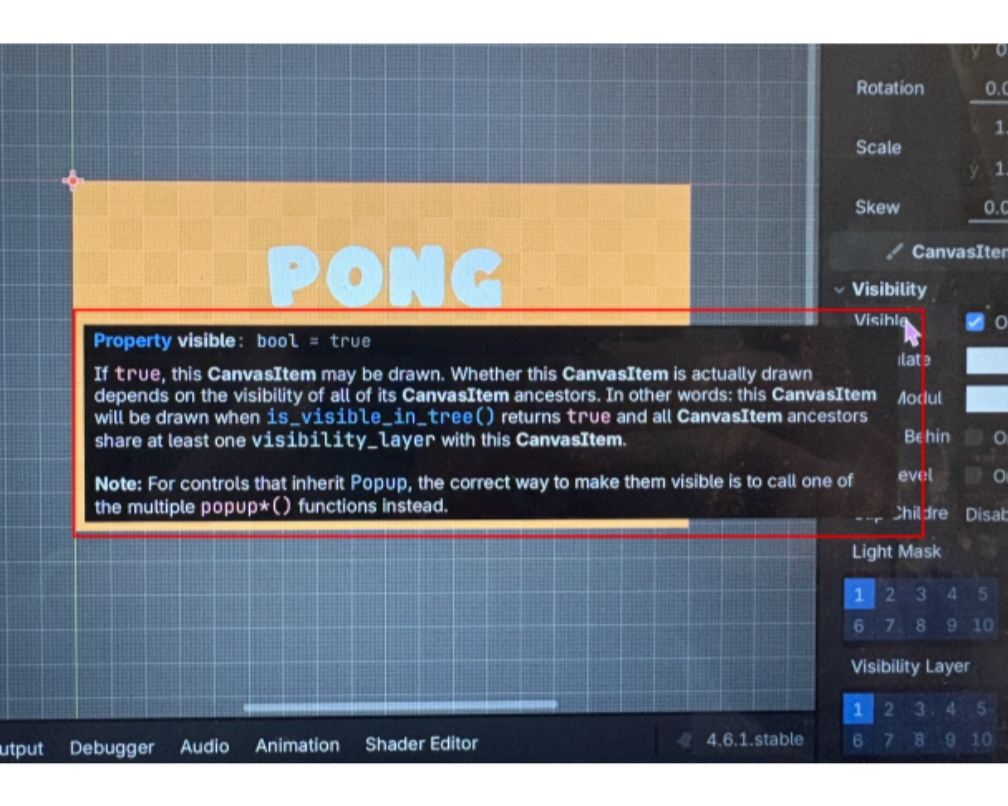
On the one hand, each node in Godot comes with a brief description, and simply hovering the mouse over it provides a clear and concise explanation of its purpose. For example, while exploring how to use the “Button” node, I was able to quickly understand the different usages of button types and the function of each configuration option directly within the editor.


On the other hand, the official Godot website also provides detailed documentation and learning materials, which can be quickly searched using keywords to locate explanations of specific features. Together, these resources significantly lower the learning barrier, allowing me to gradually understand how to use different nodes even without relying entirely on step-by-step tutorials.

This stage of development did not yet involve complex programming. Instead, it was closer to a process of module arrangement, where the focus was on selecting appropriate nodes to build different UI components in preparation for later coding, while avoiding structural mistakes. So with the help of the built-in tutorials and Godot’s official documentation, I quickly finished creating the main menu and the help page with nodes including “Button” for scene navigation, “Label” and “RichTextLabel” for displaying text content, and “TextureRect” for showing images.


Audio Implementation and AI
Similarly, I found free music assets in the itch.io asset library. The next step was figuring out how to properly integrate these audio files into the game.
Since the previous tutorial videos did not cover audio implementation, I directly asked ChatGPT for help again and posed the following question:
I’m using Godot to make a game, and I want to add music and sound effects to the game. How should I do that?
The AI provided a very clear, step-by-step explanation. Following its instructions, I was able to successfully add audio into the game. However, a new issue arose during the process: I wanted the background music to play continuously throughout the game, but it stopped every time I switched scenes.
At this point, I began to realize that although AI can provide useful solutions, it is important to clearly express my intent and logic in order to receive more accurate and effective answers. Therefore, I refined my question and asked again:
I’m using Godot to make a game and I want to add music and sound effects. How can I do that, and how can I keep the background music playing continuously when switching scenes?
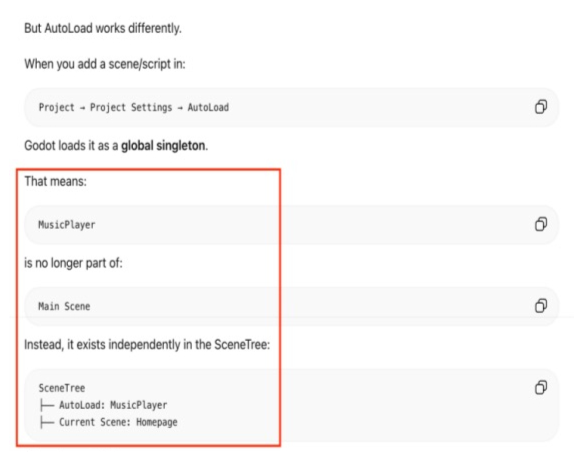
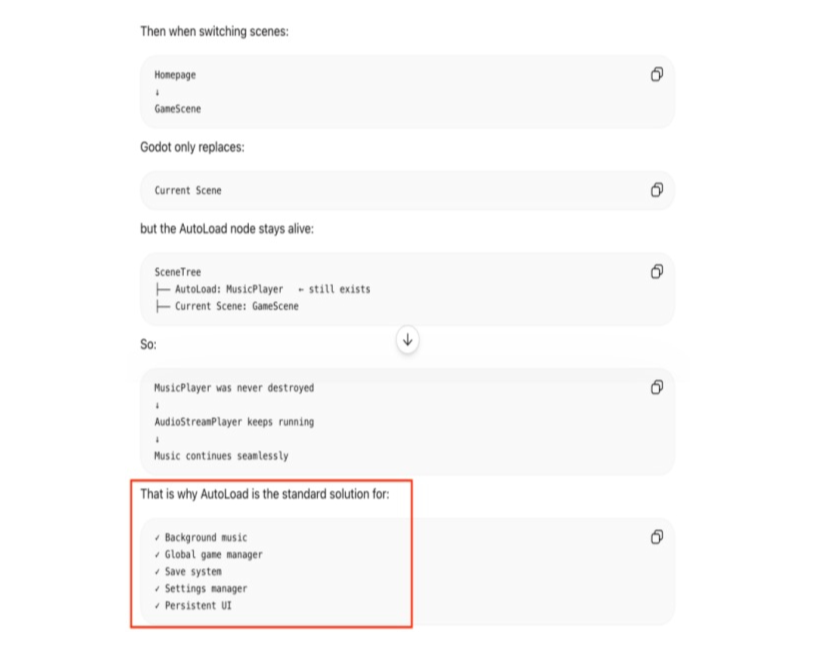
This time, the AI’s response successfully solved my problem. Unlike traditional video tutorials, although it did not initially explain the reasoning behind the solution, when I followed up by asking “Why can this keep the music playing continuously when switching scenes?”, it quickly provided a clear and easy-to-understand explanation of the underlying concept. Therefore, I not only learned how to implement continuous background music during the development of Pong, but also understood how this feature works and under what conditions it should be used. This allows me to apply the same approach more flexibly in future game development.
In addition, I also successfully solved the implementation of sound effects by consulting AI, which helped me complete the overall audio system of the game.


Requirements Breakdown and Vibe Coding
After completing the user interfaces and audio systems, the final step was to implement the game’s core functionality through programming. According to the improvement plan I developed for Pong, the program needs to implement the following features:
1. A player-versus-player (PvP) mode is added.
2. Players can select different game modes by clicking different buttons.
3. The first player to reach 5 points wins, and the game ends.
4. Players can pause /resume or return to the main menu during gameplay.
One of the simplest additions was the implementation of the PvP mode. Since Version 1 had already established the core mechanics for player-controlled paddle movement, ball interaction, and scoring, extending these functionalities to a second player was relatively straightforward.
The remaining features required new code. Compared with before, this time involved extensive use of ChatGPT for “vibe coding”, meaning I described the functionality I wanted while allowing the AI to generate the code, without engaging in a detailed understanding of its implementation (Merriam-Webster Dictionary, 2025). Through continuous experimentation and iteration, I gradually summarized my approach of vibe coding into four steps.
1. Clarify the Requirements
From the definition of vibe coding, it is clear that the first and most important step is to clearly organize your thoughts and define what you want to achieve. Only with a clear objective can you communicate your requirements to AI in a more logical and precise way.
During this process, I realized that even without knowing how to write code, it is still necessary to understand the basic logic of program execution: the CPU executes instructions sequentially, line by line. Therefore, when designing features, the workflow must also be broken down and organized in a sequential manner.
In my actual game development process, I organized different functional requirements into flowcharts to better understand the system logic myself and to make it clearer for implementation by the computer.

2. Communicate Requirements to ChatGPT
After organizing my ideas, the next step was to communicate them to ChatGPT. At first, I tended to write all my requirements in a single long paragraph and submit it to the AI. However, the results were not ideal. ChatGPT often generated solutions based on its own interpretation, which frequently deviated from my intended logic. So when errors occurred while running the code in Godot, I struggled to identify where the problem was.
After repeated failures, I gradually realized that AI also operates based on structured logic. Therefore, I changed the way I communicated with it. Instead of combining all requirements into one paragraph, I began breaking them down according to functional logic and asking questions step by step. After completing one feature, I would move on to the next. This approach allowed ChatGPT to respond more closely to my intended logic and also made it easier for me to locate issues when problems occurred.
Taking the “Game Rules” implementation as an example, I divided my requirements into five separate questions:

Although this step-by-step approach is more tedious than receiving a complete solution at once, it helps me organize my thoughts more clearly and quickly identify where issues arise.
3. Implementation and Code Testing
After receiving responses from ChatGPT, I began writing and testing the code in Godot.
For experienced developers, this stage is usually focused on programming logic design and code implementation itself. However, for a beginner like me who relies on AI for vibe coding, the most important factor at this stage is actually “carefulness and precision”—making sure that the code is copied into the correct script files in Godot exactly as provided and properly connected to the corresponding nodes.
At the same time, this process is quite different from traditional tutorials. Since AI can provide explanations for each step of the code, I can immediately ask follow-up questions whenever I encounter something I do not understand. This helps me gradually build understanding and develop the ability to transfer knowledge and think beyond a single example.
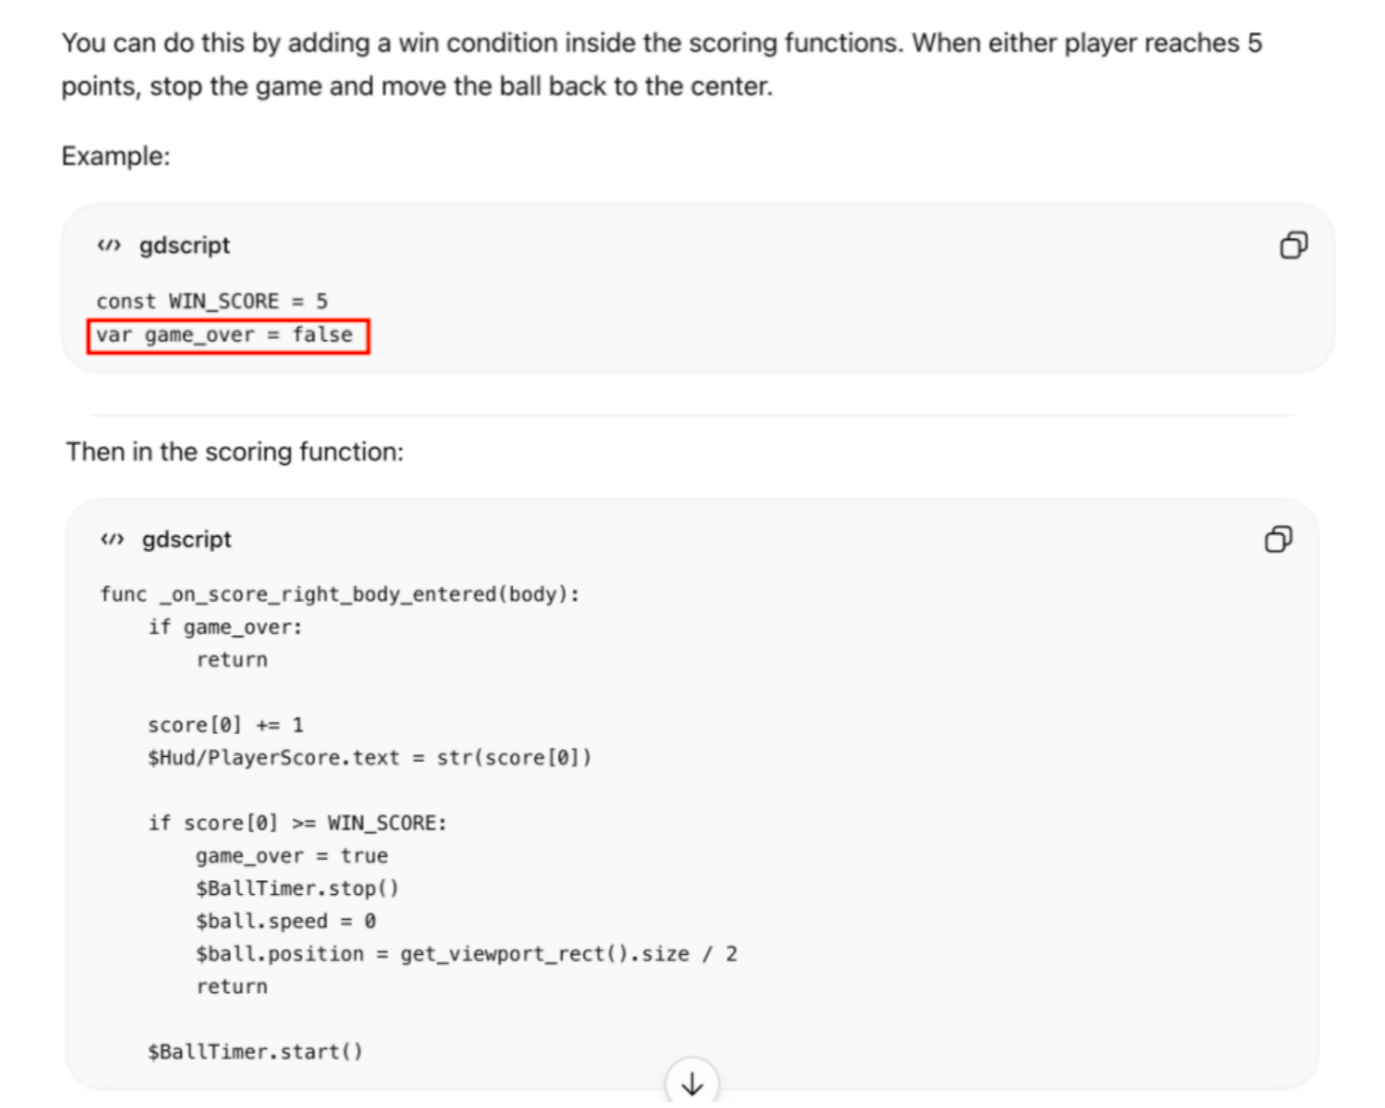
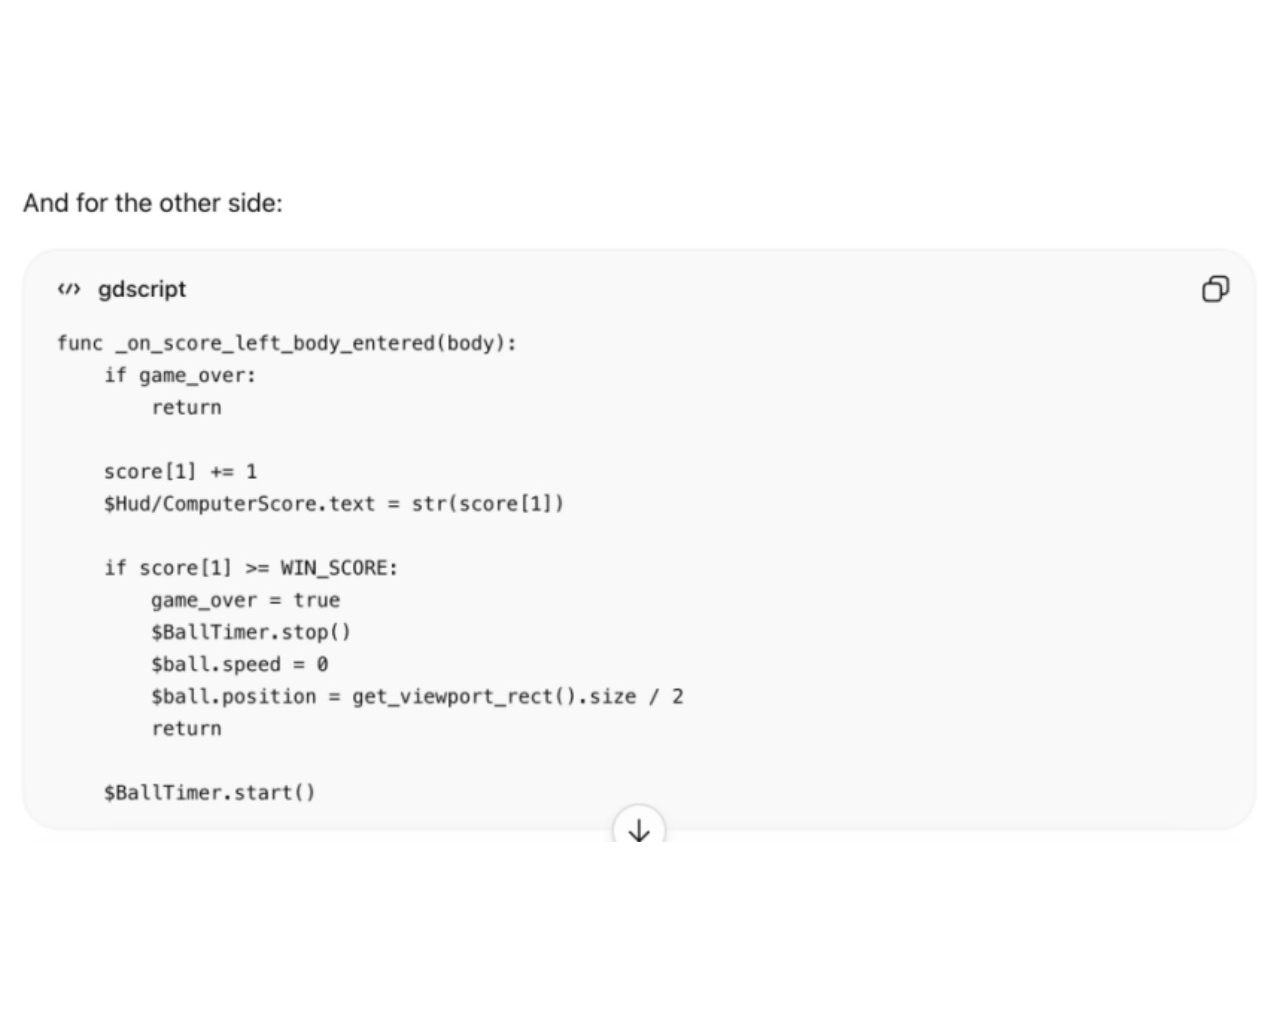
Still taking the “Game Rules” implementation as an example, when I asked the first question, “When one side reaches five points, the game ends and the ball is returned to the center starting position. How can I do this?”, ChatGPT would provide a complete solution first:


After that, it would summarize the logic of the code for you:

Because I did not understand what “var” means in the code shown in the image above, I then asked ChatGPT “What does “var” mean in Godot?”. It first explained the basic concept of “var”, then illustrated it with simple examples, and finally connected it back to my specific project by explaining what “var” does in that context. Through this explanation, I not only understood the role of “var” in that piece of code, but also learned its general meaning.


Throughout the subsequent coding process, I consistently treated ChatGPT as a readily accessible source of expertise, consulting it on programming techniques while requesting detailed explanations of the meaning and application of each code segment, thereby reinforcing my understanding of these concepts through continuous practice.
4.Debugging and Error Corrections
Errors inevitably occur during development, which can generally be divided into two categories:
1.The first type consists of syntax or logic errors in the code, which prevent the project from running properly.
2.The second type occurs when the project runs successfully but does not achieve the intended behavior
The first type of issue is relatively easier to handle. When an error occurs, the scripting system in Godot automatically reports it and clearly indicates the file and line where the problem occurs. For example, while writing code, I encountered the following issue:

In such cases, I would submit the issue to ChatGPT and ask for both the solution and the underlying cause, for example:
In Godot, what causes the warning “Used space character for indentation instead of tab as used before in the file”, and how can it be resolved?
Since ChatGPT’s response not only provides a solution but also explains the underlying cause, it helps me better avoid similar mistakes in future development.
At the same time, because these types of questions are highly specific, the answers provided by AI tend to match the problem more precisely, making the debugging process more efficient.

The second type of issue occurs when the code runs normally, but the actual behavior does not match my intended requirements. In this case, since there are no syntax or runtime errors, Godot does not generate any warnings or error messages, which makes it more challenging as it tests my understanding of requirements and overall logical thinking.
To minimize unnecessary changes, when this type of problem occurs, I would first organize the existing code and describe the currently implemented behavior clearly, and then provide both of them to AI along with my intended final functionality. Based on previous experience, the requirements were described as clearly, detailed, and logically structured as possible.
For example, when implementing the pause feature, my requirement was:
When the player presses the spacebar, the game should pause, meaning the ball and paddles stop moving, and the background music also pauses; when the player presses the spacebar again, the game should resume from where it was paused, and the music should continue playing.
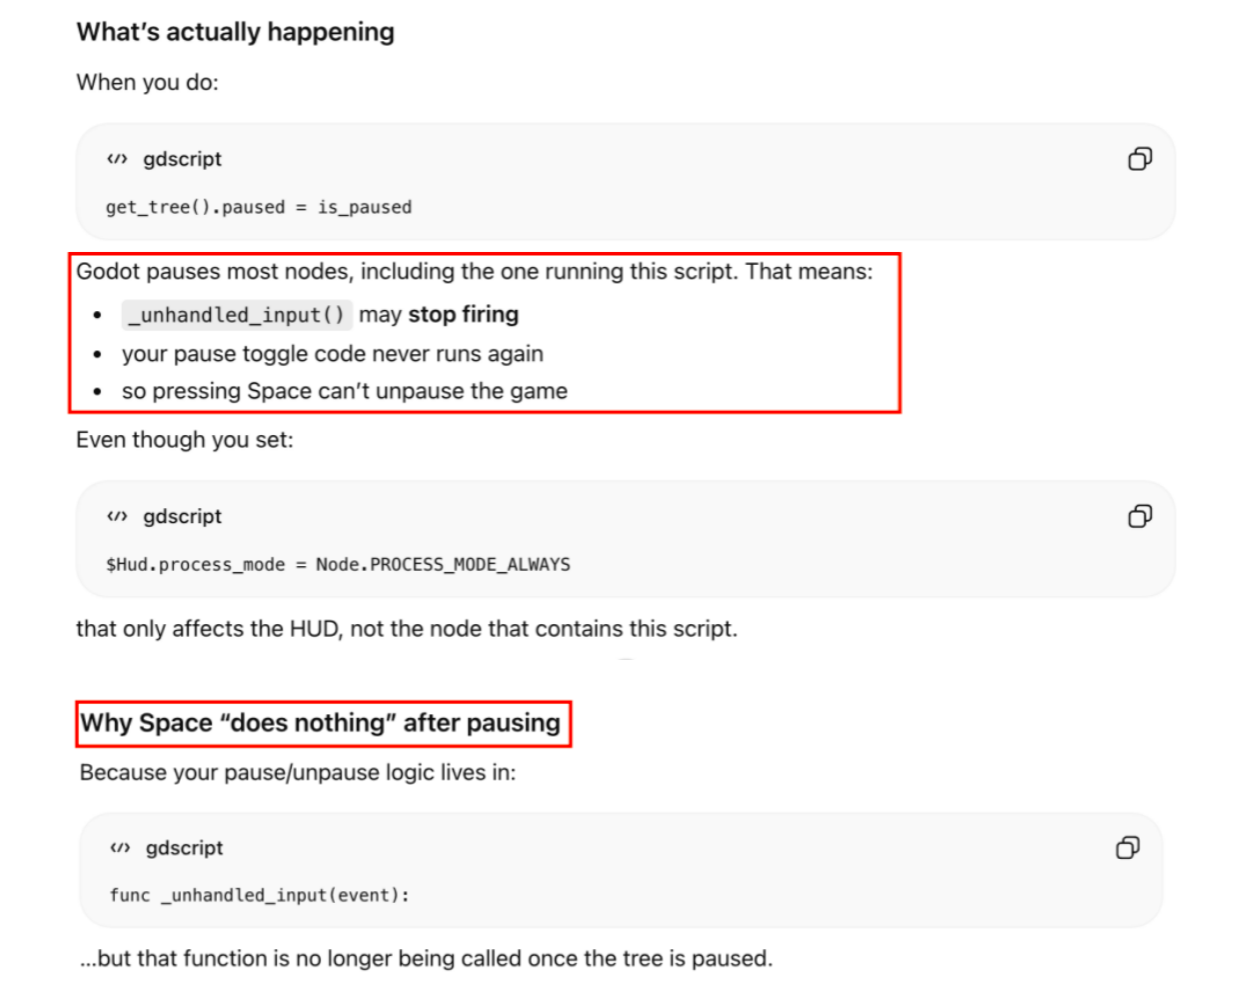
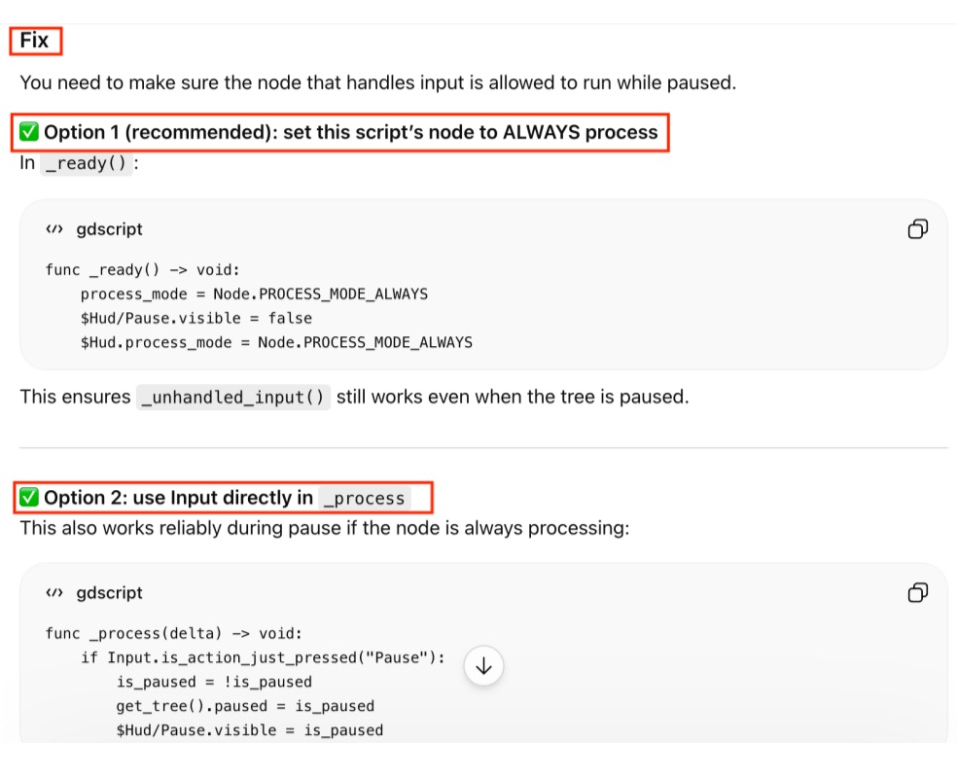
However, after my first attempt, the issue was that the game would pause correctly on the first press of the spacebar, but it would not resume when pressed again. To address this, I provided my existing code to the AI and further asked:
My code currently looks like [this], but when I press the spacebar again, the game cannot resume from the paused state. What is causing this issue, and how can it be fixed?
Similarly, from ChatGPT’s response, I not only solved the problem but also gained a deeper understanding of how similar systems are generally structured and how such functionality should be properly implemented and debugged.


Eventually, step 3 (Implementation and Code Testing) and step 4 (Debugging and Error Correction) form an iterative cycle, which requires a great deal of patience. Although the process is time-consuming, it is also where I gained the most practical experience.